Table of Contents
ToggleAre you looking to create gift packaging boxes to give as a special present? If so, you’ve come to the right place!
Whether you’re looking to create one-of-a-kind gift boxes for a special someone or for a special occasion, this guide will provide you with all the tips and tricks you need to get started.
So, here below we can start with our guide on how to make a custom gift box!
Choose materials for gift packaging boxes wisely:
When creating gift boxes, the first step is to choose the materials you will use.
Many people opt for cardstock or cardboard to create their boxes because they are easy to cut and assemble.
You can also use Kraft corrugated cardboard if you want a sturdier box.
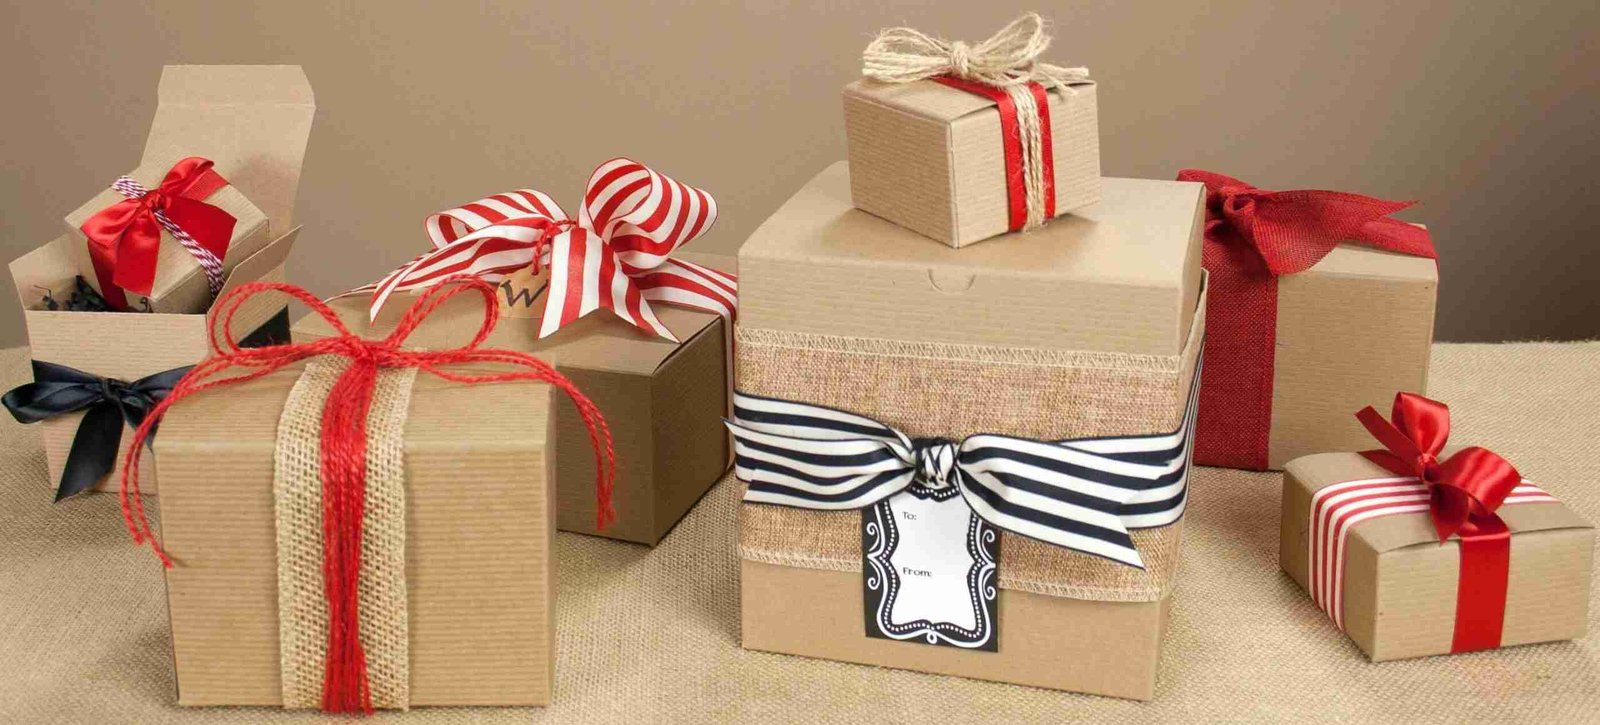
You can decorate your custom gift boxes with fabric or ribbon.
Drawing:
Once you have chosen the material for your boxes, you can start planning the design and measurements for your boxes.
Start by sketching out what the finished product should look like and make sure to measure all of the sides accurately before cutting.
Depending on the type of material you’re using, you may need scissors, an X-acto knife, or a die-cutter machine to get precise cuts.
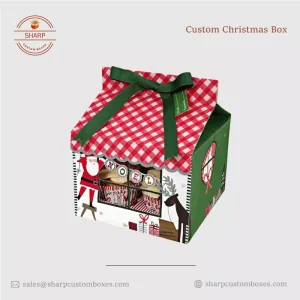
After you’ve got all of the pieces cut, it’s time to start assembling them into your Christmas gift boxes. If you’re using paper or cardboard, glue may be the best way to put it all together.
The last step in how to make custom gift boxes is to finish them off with some decorative touches.
This could be anything from painting it, adding lettering or stamps, or simply wrapping it in colorful paper and ribbons.
Cut out the pieces of gift packaging boxes:
You’ll need to create four sides that will make up the walls of your boxes.
Depending on the size of the boxes, you may want to draw out your pattern first or measure and mark the material directly.
If you’re working with paper, you may find it easier to trace a pattern you’ve drawn on a piece of scrap paper onto each side before cutting it out.
Using a sharp pair of scissors or an X-Acto knife, carefully cut out the four sides of your boxes. Make sure to cut slowly and accurately so that your pieces are precise and fit together well.
Additionally:
If you are working with a thicker material such as cardboard, you may need to use a craft knife or other cutting tool. Be sure to check your materials for any possible hazards such as jagged edges or splinters.
Use glue or tape along the creases to hold the piece in place.
You can repeat this step with the remaining three pieces. Until they have all glue together at the centre.
Once all four sides are glued, add some extra tape around the corners of the boxes to reinforce their structure.
Your small gift boxes should now be complete! To further customize them, consider adding paint or decorations such as ribbons and bows.
Your creativity is the limit when making gift boxes – get creative and show off your own unique style!
Assemble your cardboard gift boxes:
Once you have all of the pieces cut out, it’s time to assemble your gift packaging boxes!
Depending on the size and complexity of your boxes, this process could take anywhere from 15 minutes to an hour.
Here’s how to do it:
- Place the four side pieces on a flat surface. Make sure the edges are even.
- Take two of the smaller corner pieces and attach them to the four sides with glue or tape. Make sure the pieces fit securely.
- Take the remaining two corner pieces and attach them to the four sides, just like the first two.
- Once all of the pieces are attached, fold up the sides of the boxes and secure them with glue or tape.
- Place the bottom piece into the boxes and secure it with glue or tape.
- Place the lid onto the boxes and secure it with glue or tape.
And that’s it! Your custom gift boxes are now ready to be decorated and filled with gifts.
Decorate Your Boxes:
Once you have the four walls of your custom gift boxes cut and assembled, it’s time to make them look as festive and special as the gifts inside.
There are lots of ways to make your boxes unique, from adding bows and ribbons to wrapping them with paper or fabric. You could also decorate with paint or decoupage, or even use stickers and stamps.
Moreover:
For an extra-special touch, add some tissue paper to the empty gift boxes before adding the present. This will help the gift sit comfortably in the boxes and create a colorful background for your decorations.
If you’re using fabric, paper, or felt to decorate the outside of the boxes, glue it in place with strong craft glue.
To attach ribbons, bows, and other decorative items, use double-sided tape. If you want to get really creative, you could even sew on some extra trimmings!
Furthermore:
Don’t forget to include a card or tag so that your recipient knows who their special gift is from.
With a little creativity and imagination, you can make black gift boxes that will make your presents even more special. Have fun creating something unique and memorable!
Black gift boxes are perfect for any occasion – birthdays, weddings, anniversaries, and holidays.
If you’d like to go one step further, why not laser engrave names or quotes onto each luxury gift box? For example, if you’re gifting books, you could have the title engraved onto the lid.
Whatever method you choose, customizing each gift box is sure to make your present stand out from all the rest!
Fill your boxes:
Once you’ve created and decorated your treat boxes, the last step is to fill them with whatever gifts or surprises you have chosen.
Depending on what you’re putting in your boxes, there are a few options for filling them:
- Wrapping gifts: If you have a few small items that you want to put in your boxes, it’s best to wrap them before placing them inside. This gives your boxes a polished look and helps keep the contents safe.
- Inserting goodies: If you are giving food items, like chocolates or cookies, as gifts, you can use tissue paper to insert them into the boxes. This will help keep the items separate and make sure they don’t break during transportation.
- Packing boxes: If you are giving larger items, like clothing or books, you should use bubble wrap and packing materials to securely pack them inside the boxes. Make sure you use enough material to keep the items secure so that nothing gets damaged during transit.
So:
Now that your mini gift boxes are filled, they are ready to give away!
Depending on where you are sending them, you may need to add additional packaging to ensure that they arrive safely.
No matter who is receiving your gift packaging boxes, you can be sure that they will be excited and impressed when they open their present.
You can even include a personalized note or card with the boxes to let the recipient know how much you care about them.
At the end for gift packaging boxes:
Your gift boxes will be remembered for years to come, so take some time and enjoy the process of creating something unique and special.
With just a few simple steps and supplies, you can create custom gift boxes that will impress and delight whoever receives them.
Whether they’re a friend or family member, or even a customer or colleague, bespoke gift boxes are sure to make an impression!


